Bag-Lady Shopping Bags
Step 1: Layout and cut-out
Time to get started!
Find a large flat spot in your house to lay out the fabric.
Look at or print my illustration (pattern) that shows what the different pieces are and how to draw them out on your fabric.
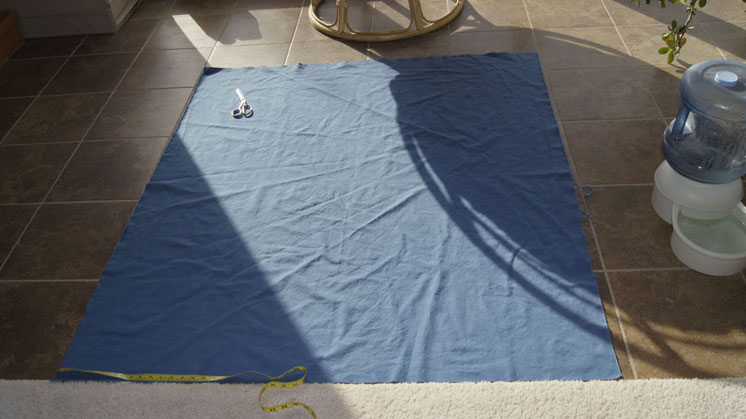
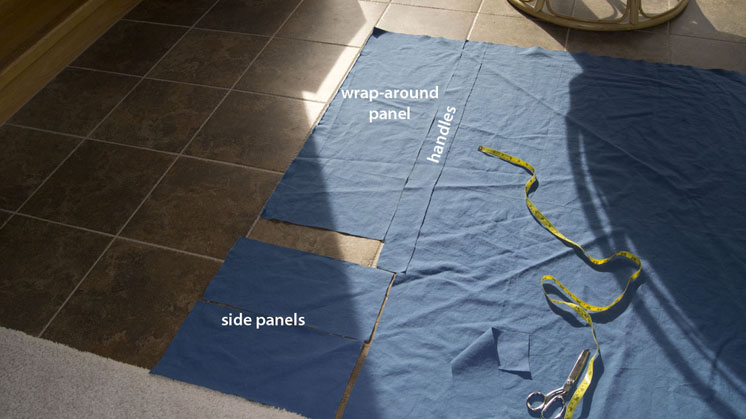
In the photo below, you see a yard and a half of washed and shrunk 60-inch wide fabric laid out on the sunny floor. The selvages are at the top and the bottom (running horizontally) and the cut edges are to the left and right (running vertically). I could cut 3 bags out of this much fabric, but at this time I am only cutting out 1 bag.
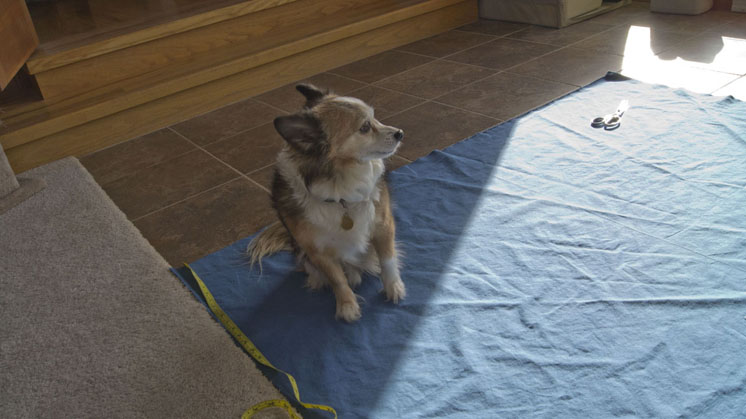
If necessary, shoo off any little dogs that have settled onto the fabric.
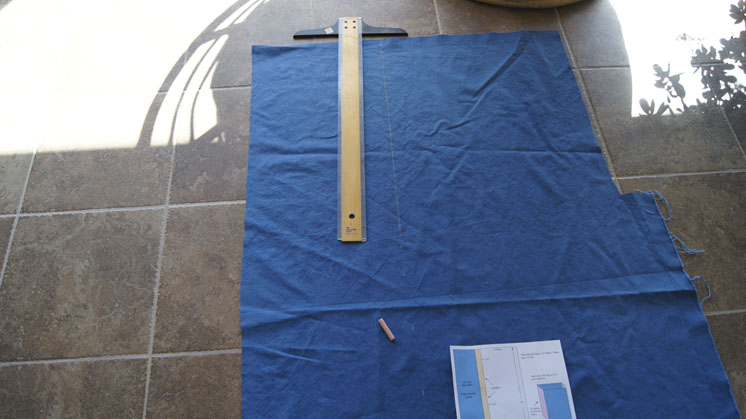
Use a tape or a tape measure or a yardstick to measure out the lengths. Mark the fabric with chalk (or pins) and use a straight edge to draw the boxes. If your fabric has shrunk a little, there might not be a space between the side panels and the handles when you draw everything out, so it might not look exactly like my illustration.
In the photo below, you can see how I've started to mark the fabric.
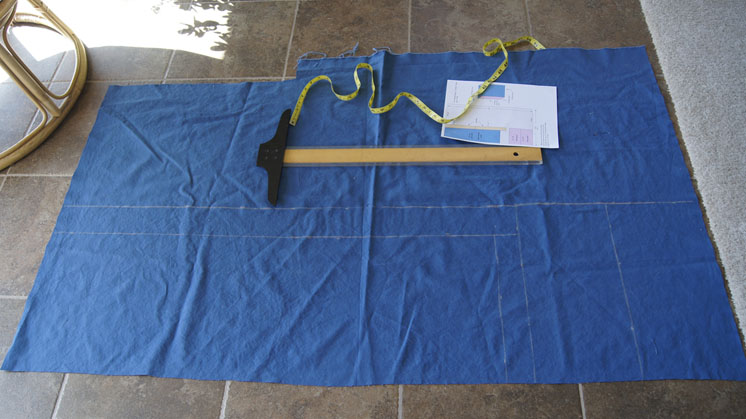
Here it is all marked and ready to cut out:
Next, cut it out along your markings/lines.
The photo below shows how it looks all cut out. Well, almost cut out, I hadn't yet cut the long handle into two smaller ones. Note that I removed the little piece of unneeded fabric between the wraparound panel and the side panels. Note also how the side panels are snug up against the handle piece - due to fabric shrinkage, it didn't lay out exactly like the drawing I made. Note also that I could have cut another 2 bags out of this yard and a half of fabric.
Next: Step 2: Pin the first side panel to the wrap-around panel.