Bag-Lady Shopping Bags
Step 2: Pin the first side panel to the wrap-around panel.
In this step, you will pin three edges of the side panel to one long edge of the wrap-around panel, as illustrated in the diagram below.
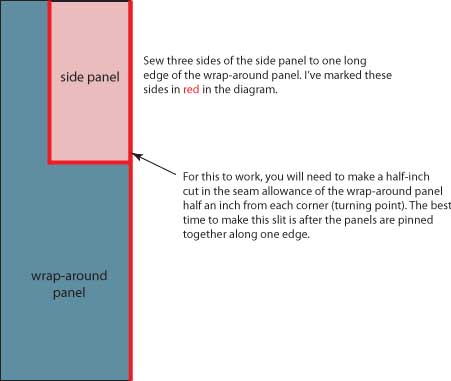
The tricky part is going around the two corners. At each corner, you will need to clip the long edge of the wrap-around panel one-half inch into the seam allowance, then turn the fabric of the wrap-around panel. It sounds confusing, but if you follow the photos below, it will become clear.
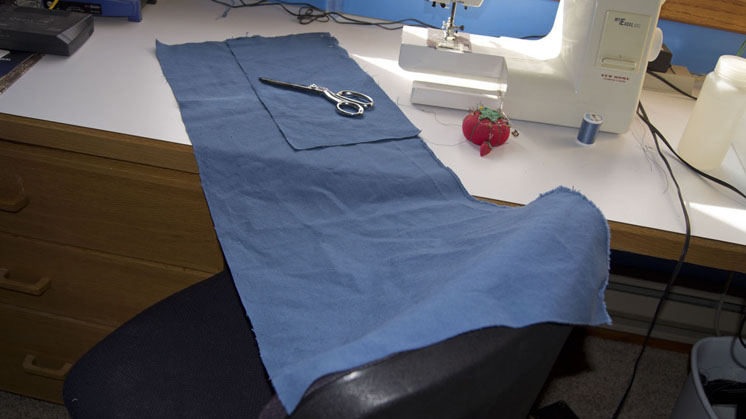
Begin by placing one side panel on top of the wrap-around panel. Align one long edge of the side panel with one long edge of the wrap-around panel. One short edge of the side panel is aligned with a short edge of the wrap-around panel, as in the diagram above and in the first photo below.
I've found that duck cloth is the same on both sides. In other words, there is not a "right" and a "wrong" side. If you are using fabric with obvious right and wrong sides, place the right sides together.
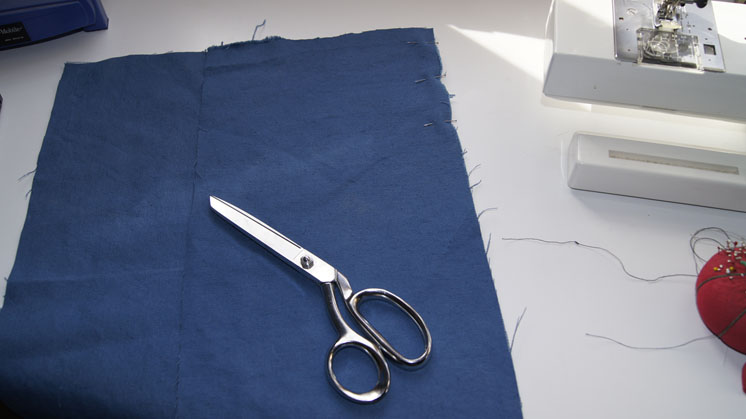
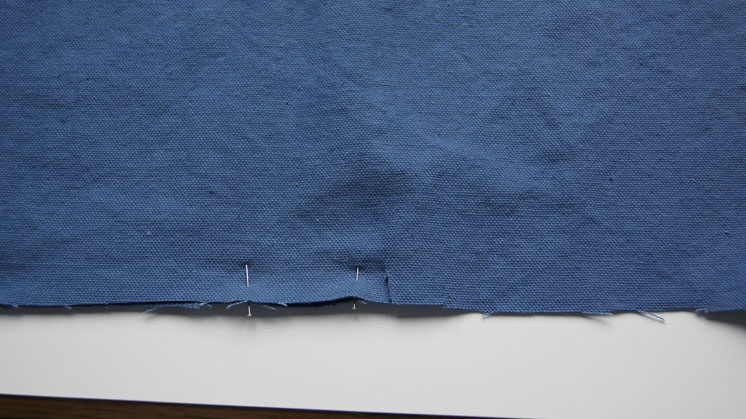
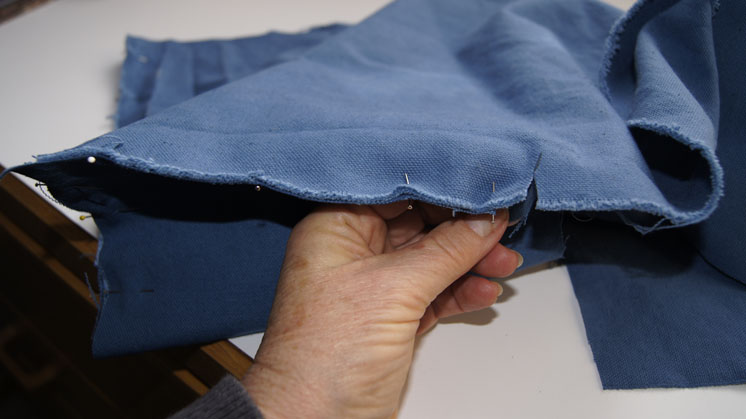
In the photos below, I've started pinning the two pieces together.
The photo below is a close-up.
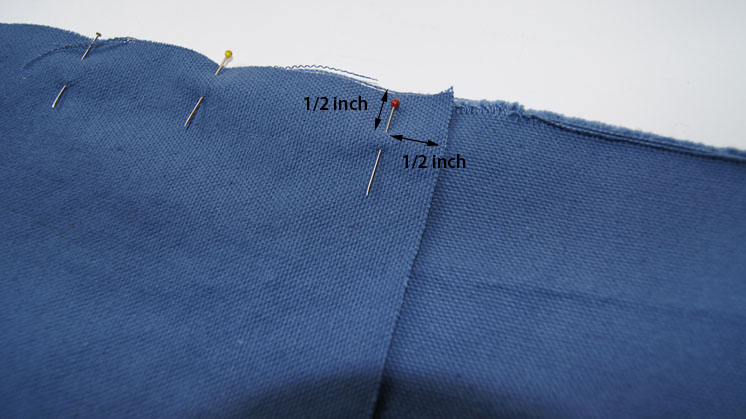
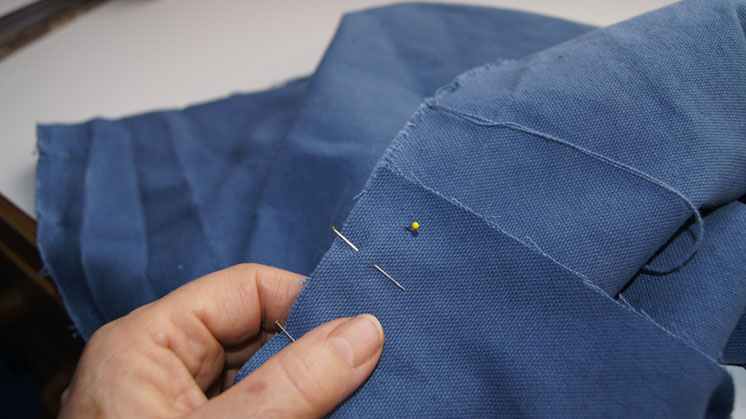
Continue to pin the entire long edge of the small panel to the wrap-around panel. The most important pin is the last one at the corner: Place it exactly one half inch in from each side of the side panel at the side panel corner. In the photo below this pin is the pin with the red top.
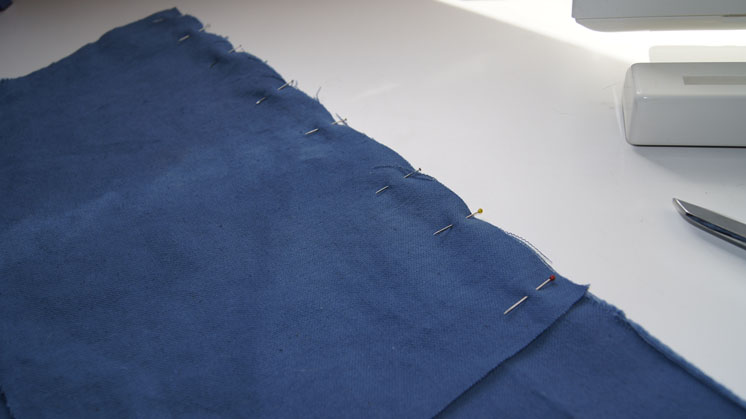
This red-topped pin is one half inch from the sides of the side panel:
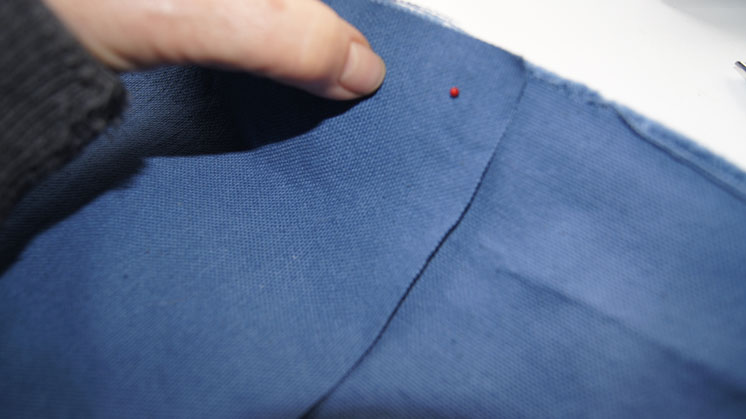
Un-pin the bottom, like in the photo below. This red-topped pin is now sticking out the back of the fabrics.
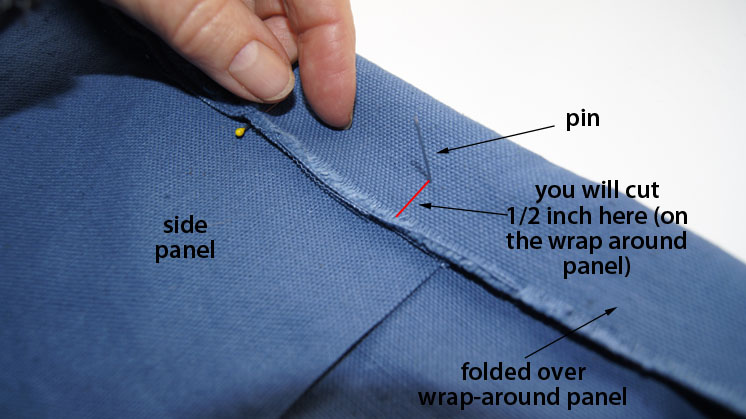
Turn or fold the fabric over. In the photo below, I've folded it over so you can see the other side of the red-topped pin, where it sticks out of the wrap-around panel. Clip the seam allowance to this pen, ONLY in the wrap around panel.
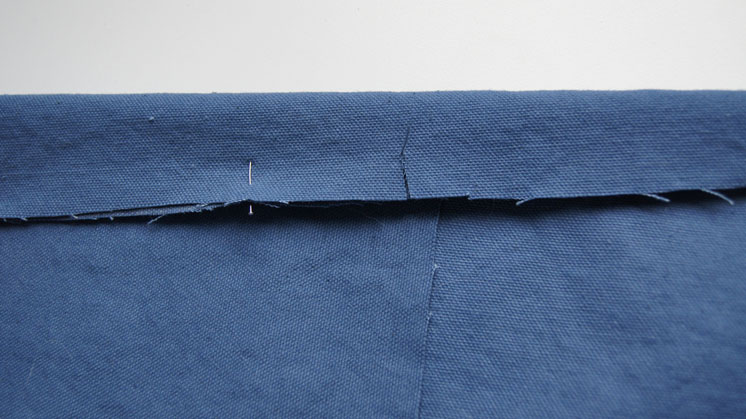
Here's the clip:
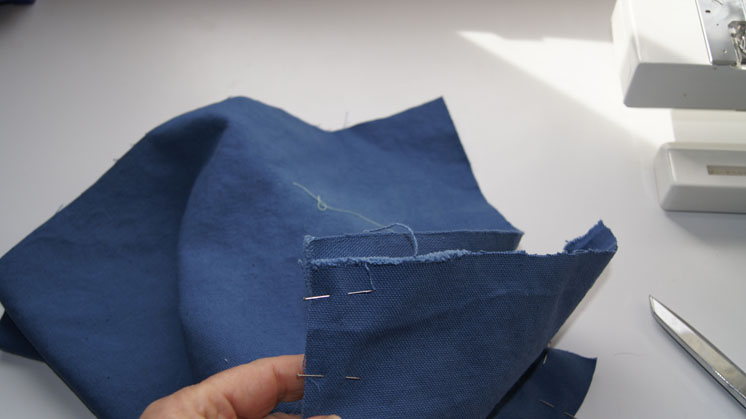
Turn the fabric over so that the wrap-around piece is on top:
Then turn the wrap-around panel 90 degrees:
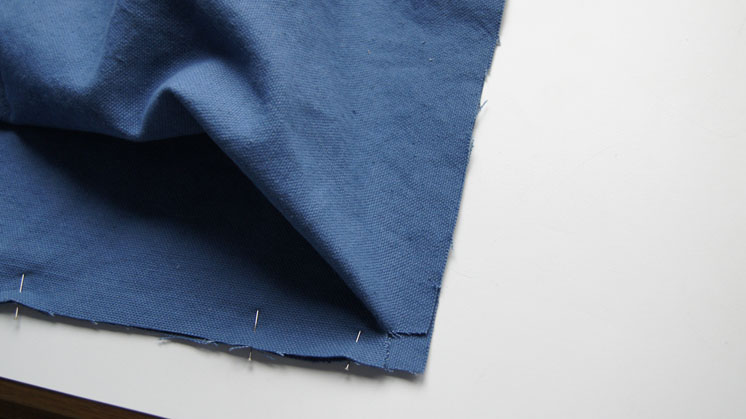
and continue pinning:
When you get to the second corner, mark and clip in the same manner as you did the first corner:
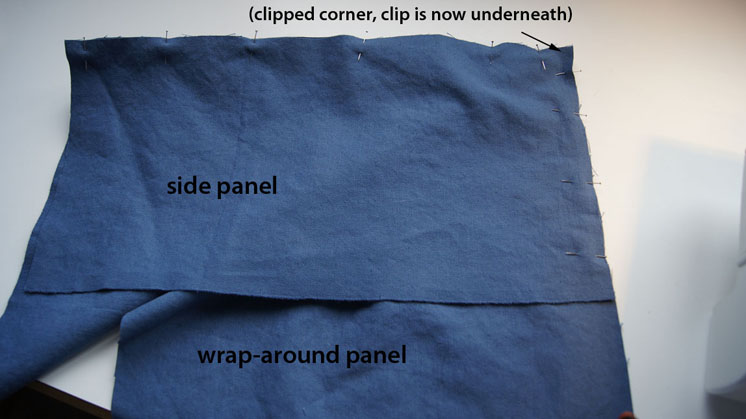
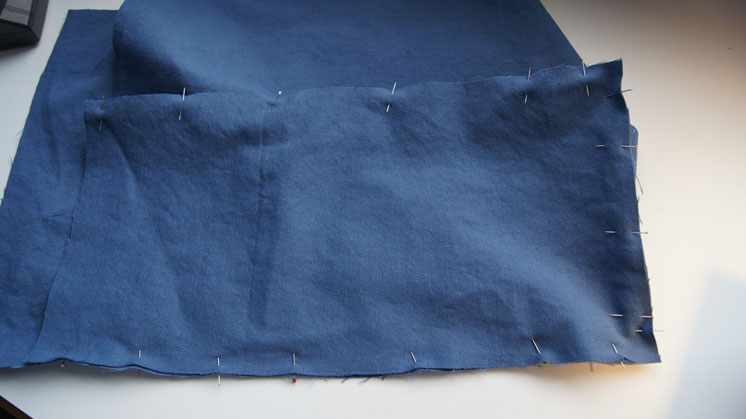
Here is how it looks all pinned (with the side panel up):
And another view of it pinned, turned over to see the two clips:
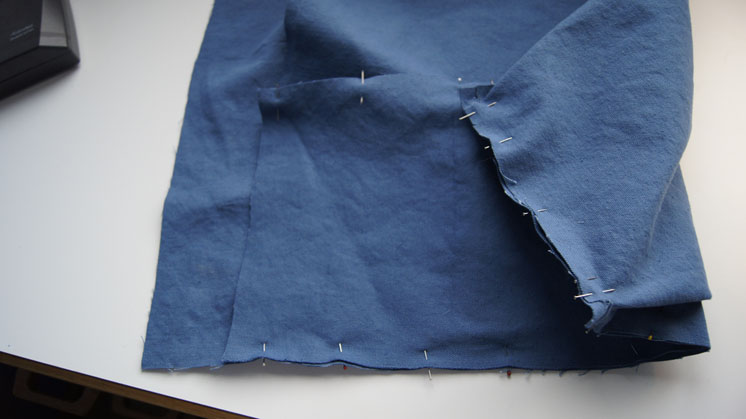
Note that the wrap around panel is a little longer than the side panel, at what will be the top of the bag. Do not worry about this - I planned in a little "elbow room" in case everything didn't match up perfectly. When it's all sewn together, you can trim the top edges to match.
Next: Step 3: Sew the first side panel to the wrap-around panel.