Bag-Lady Shopping Bags
Step 6: Handles.
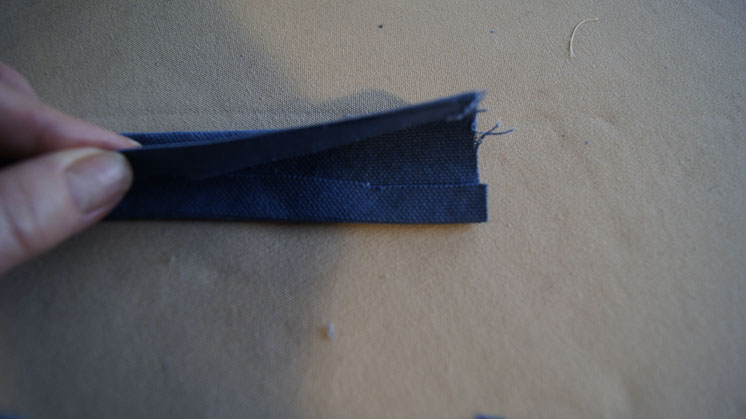
Here are the two pieces of material that will be the two handles:

Each handle will be attached to one end of the wrap-around panel (where you put the 3-inch pins in the last step).
First, turn under 1/2 inch on each of the 4 long edges of the handles.
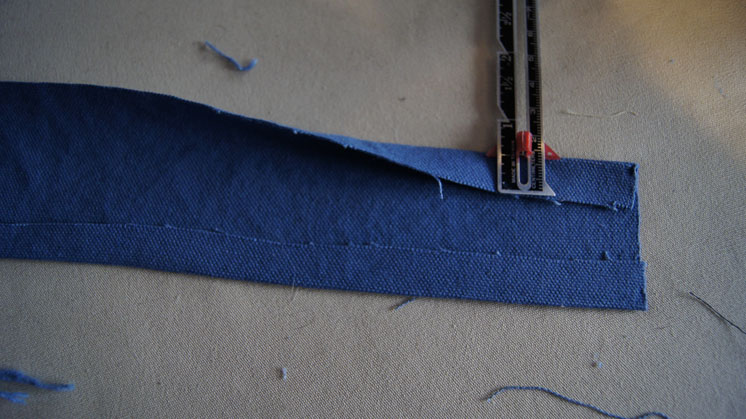
Then fold the strips in half, bringing the folded edges together.
Press the edges together.

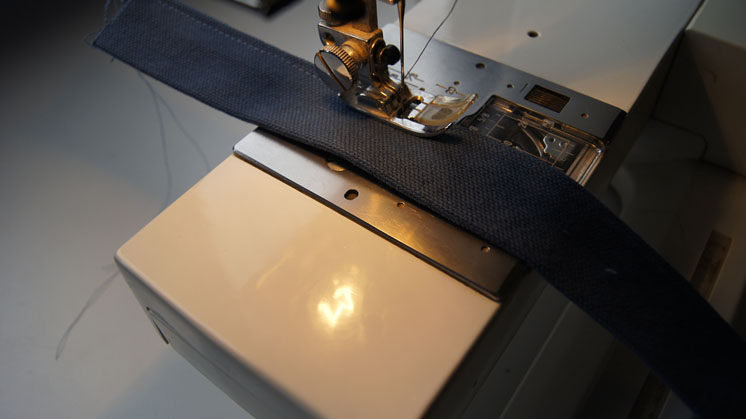
Stitch the handles close to each long edge:
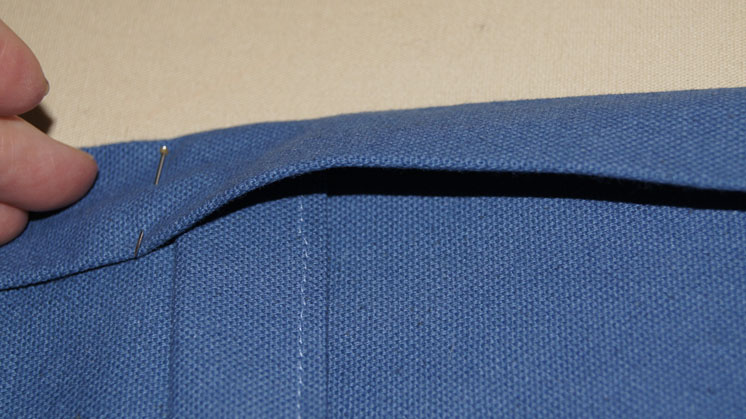
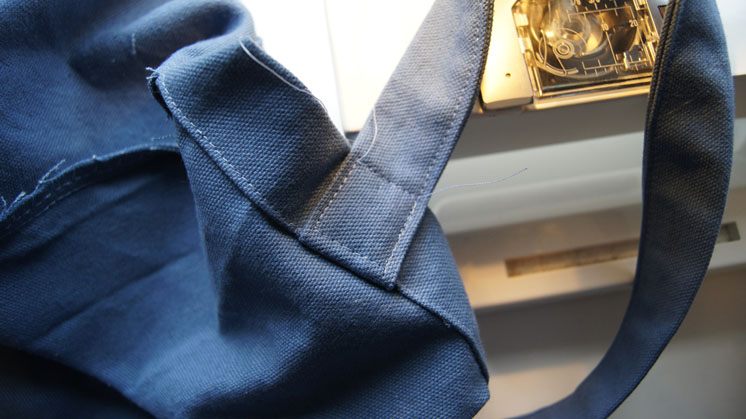
Place each handle under the folded hem at the 3-inch marking-pins on the top of bag. Each handle goes upside down (they will be turned later) - place the end of the handle snug with the top of the bag. Here is what I mean:
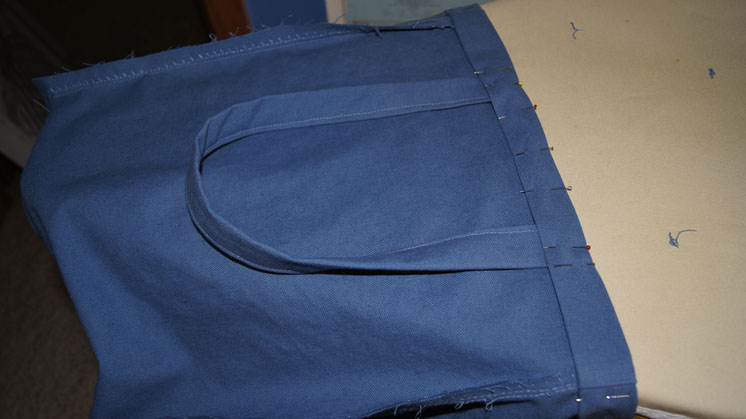
Make sure you do not have a twist in the handle. Place the stitched-edge towards the center. The end of the handle fits snug up against the top fold. Here is a detail:
Stitch the entire top edge of the bag, close to the fold.

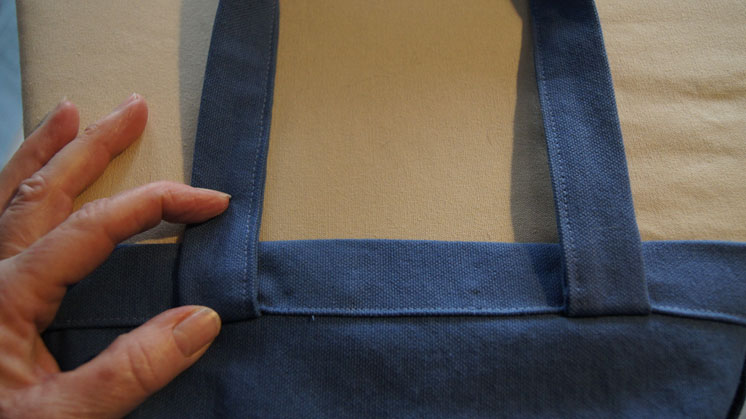
Now, fold the handles up and press.
Pin.
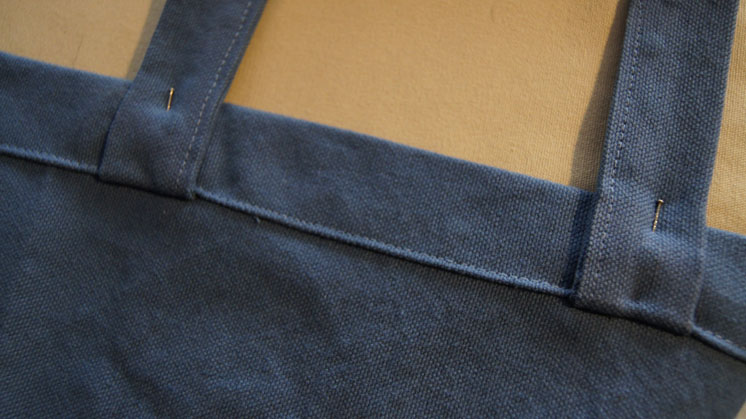
Stitch the handle to the bag again - along the hemline, up, across, and down to make a square on each handle end. This makes a super sturdy handle. See the photos below.
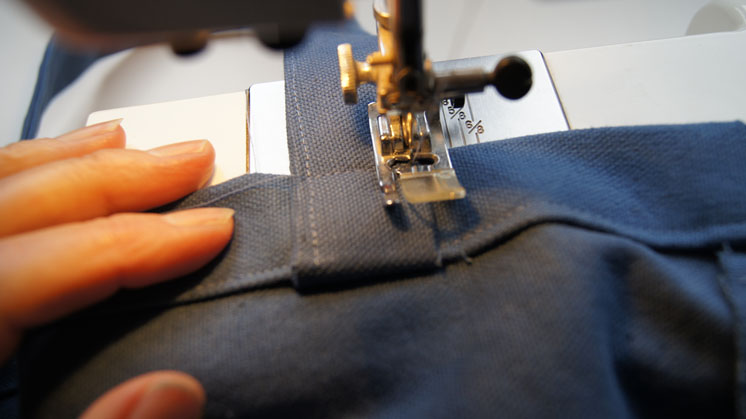

Stitch the other side of this handle in the same manner. Then, repeat the process with the other handle.
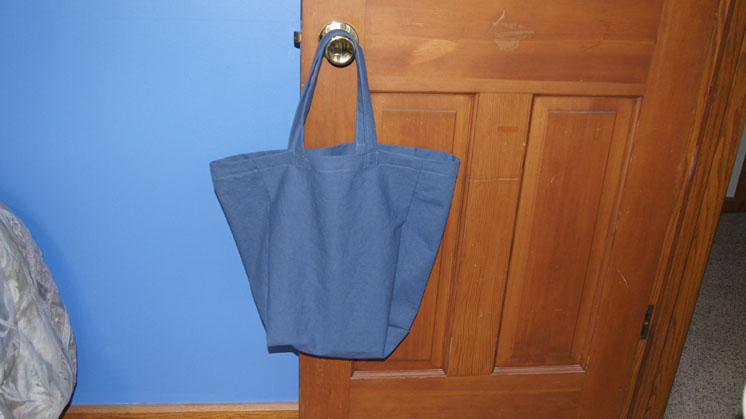
Here is how it looks, finished!
Next step: Step 7: Decorating your bag.