Bag-Lady Shopping Bags
Step 3: Sew the first side panel to the wrap-around panel.
In this step, you will sew three edges of the side panel to one long edge of the wrap-around panel, as pinned together in step 2.
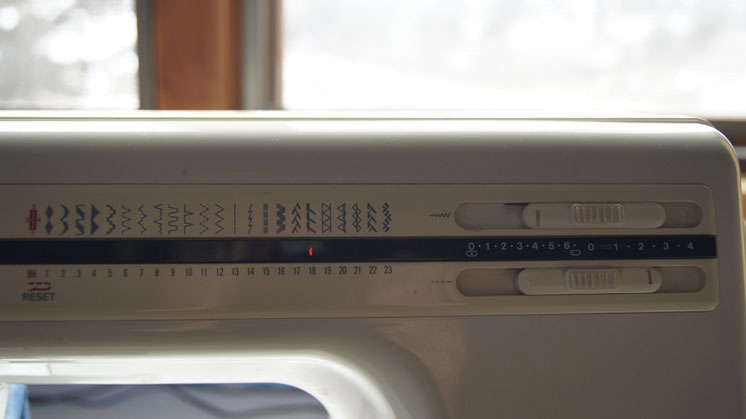
Thread your machine with the proper thread. Set the stitch size at a normal stitch setting. (My machine is set to 2.5.) You could use a serger, and skip the step of re-stitching in the seams to prevent unraveling.
It's best to sew with the wrap-around panel up - it's easier to sew around the corners this way.
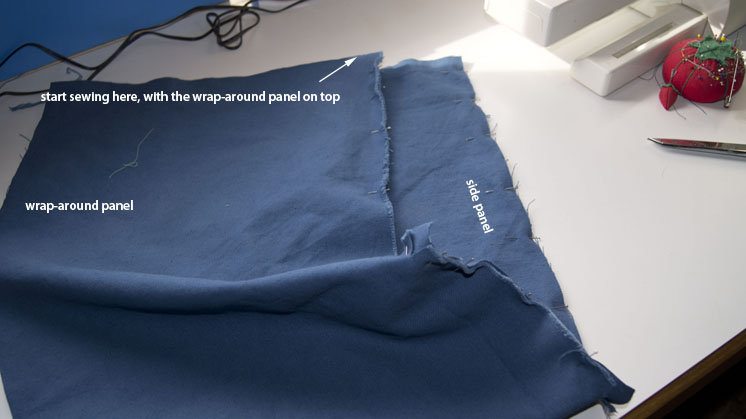
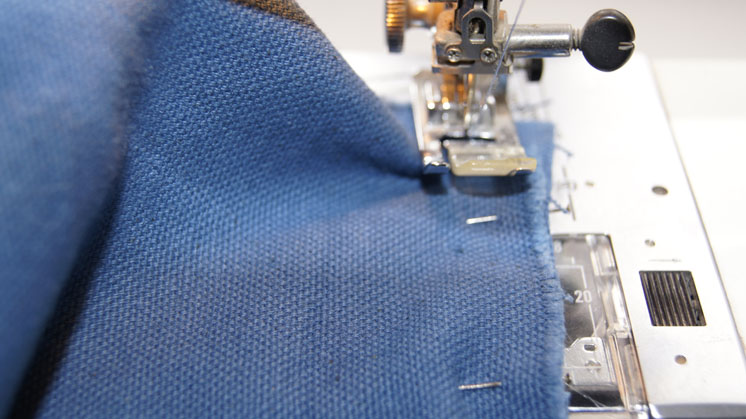
Place the fabric in the machine, and start sewing. Make the seam 1/2 inch wide.
Oops, forgot something! Where is my music?
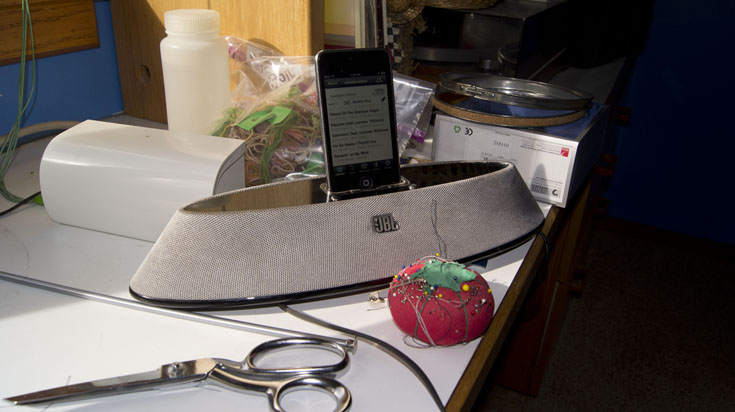
Much better.
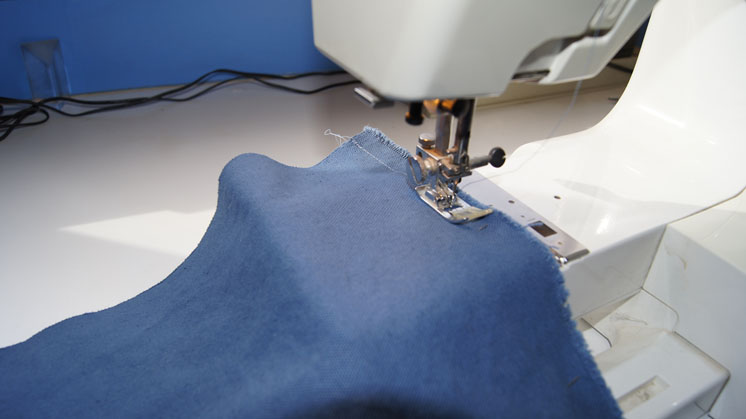
The photo below shows what it looks like when you get to the first corner.

At the corner, lift the pressure foot and turn the material:
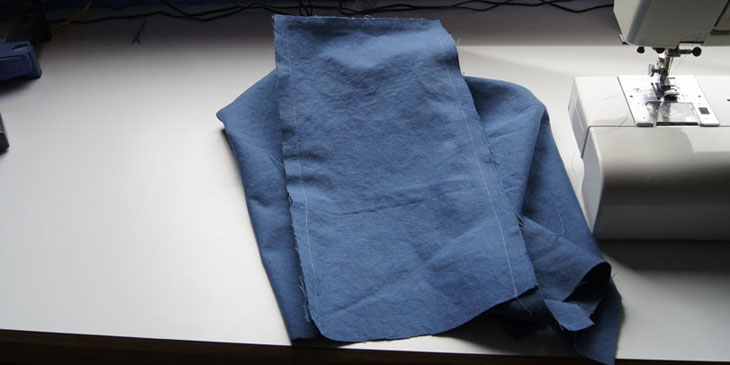
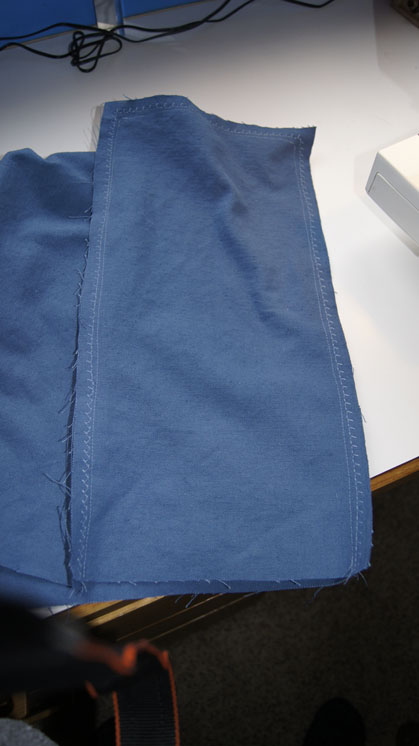
Below is what this side looks like sewn together.
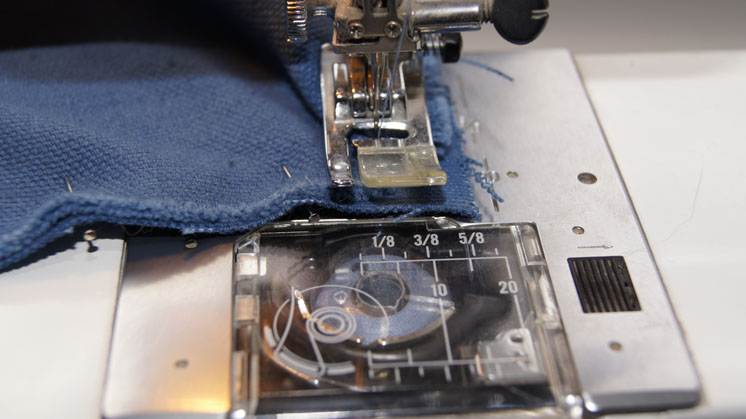
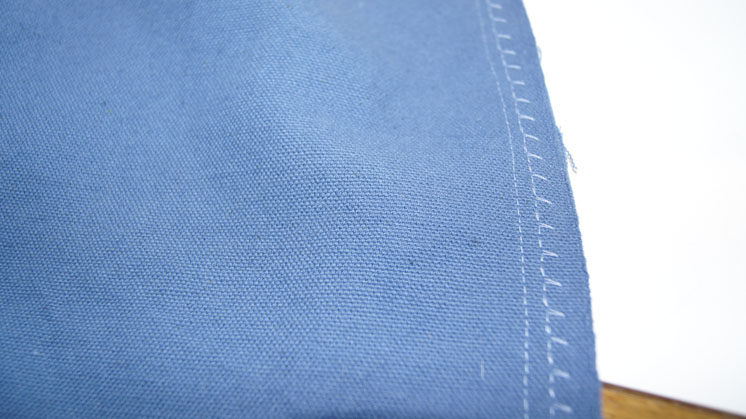
If (like me) you are not using a serger, sew inside the seamline using a zigzag or other stitch to prevent the material from unraveling. The stitch I use is illustrated below.
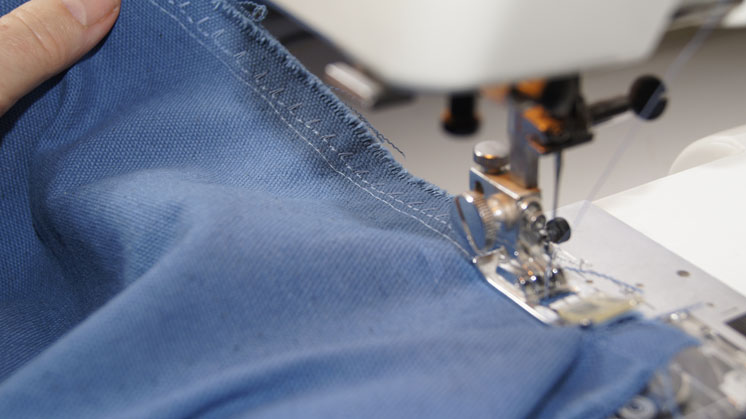
A close-up of the stitch:
Here is the first side, sewn and seams finished:
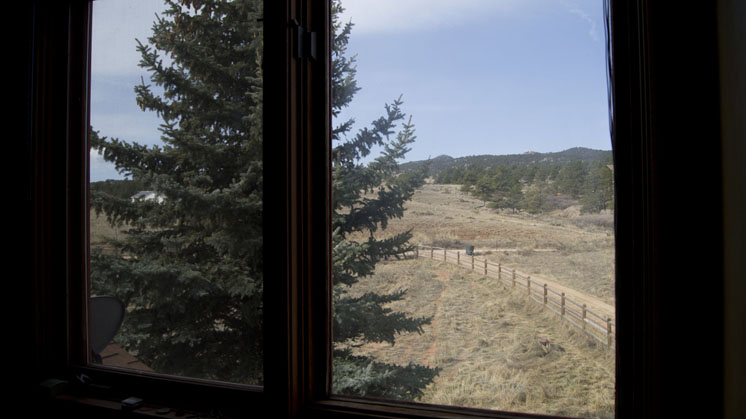
Don't forget to look out the window! You deserve it, this has taken awhile and you deserve a break!
Next: Step 4: Sew the second side panel to the wrap-around panel.