Bag-Lady Shopping Bags
Step 4: Sew the second side panel to the wrap-around panel.
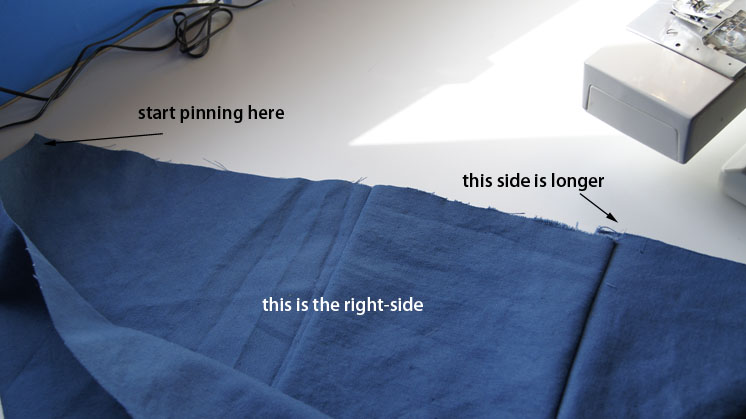
The second side panel is sewn in the same manner as the first side panel (Step 3). But this time, you have to make sure you have the right-sides together, since you created a right- and wrong-side by sewing the first side panel to the wrap-around panel. You also might have one side of the wrap-around panel that is a little longer than the other side, so start pinning on the "even" side of the wrap-around panel. See the photo below:
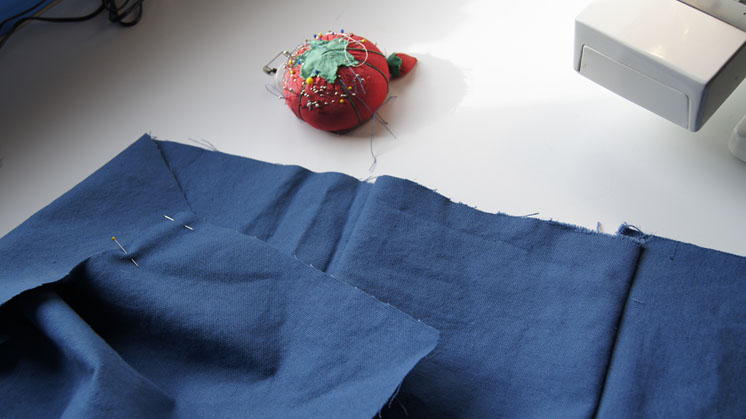
The photo below illustrates the pinning:
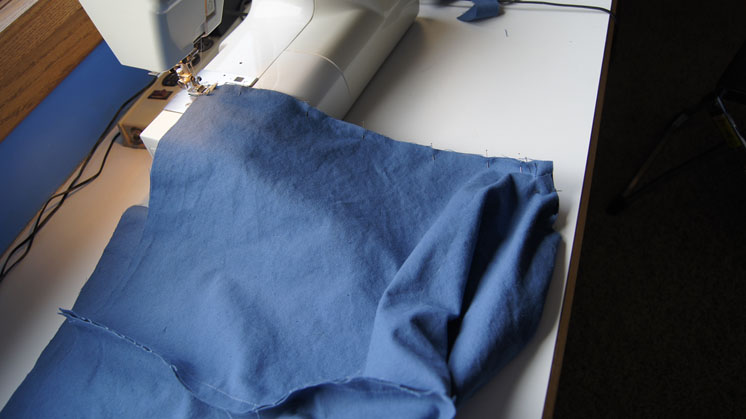
Remember to begin stitching with the wrap-around panel up - this makes it easier to go around the corners.
Remember to finish the seams!
Below is a bag, sewn together and seams finished. Note that one end of one side panel is a bit longer - we'll trim this in the next step.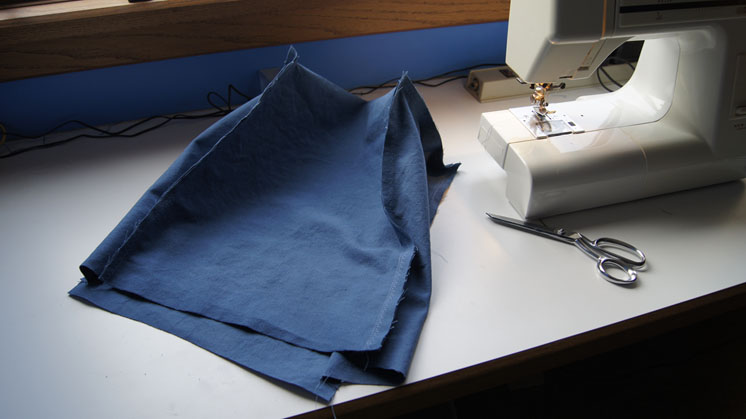
Look who's come to visit!
Next step: Step 5: Prepare the top of the bag for the handles.